Lomography Guide to Film: Shooting with Redscale Films
5 55 Share TweetOnce you've perfected the trick of making your own redscale films, you're finally ready to take photos with them. This quick guide covers the techniques you need to know to get the look you want to achieve out of redscale films.

As the name suggests, redscale films produce photos that are bathed in intense reds and fiery oranges. However, knowing the right exposure technique for redscale film will help you achieve the kind of hues and results that you want.
Rule of Thumb
As a general rule, redscale films should be exposed -- or overexposed, technically speaking -- at least one to two stops from the film's actual ISO. For example, if you've redscaled an ISO 200 film, you should set/rate the ISO at 100 in your camera.
The Principle of Light Penetrability
This rule of thumb on exposing redscale films was nicely interpreted by lomographer renenob through a concept which he called The Principle of Light Penetrability. Basically, he described how films with lower ISO (100, 200) are thinner compared to those with higher ISO (400, 800, and upwards).


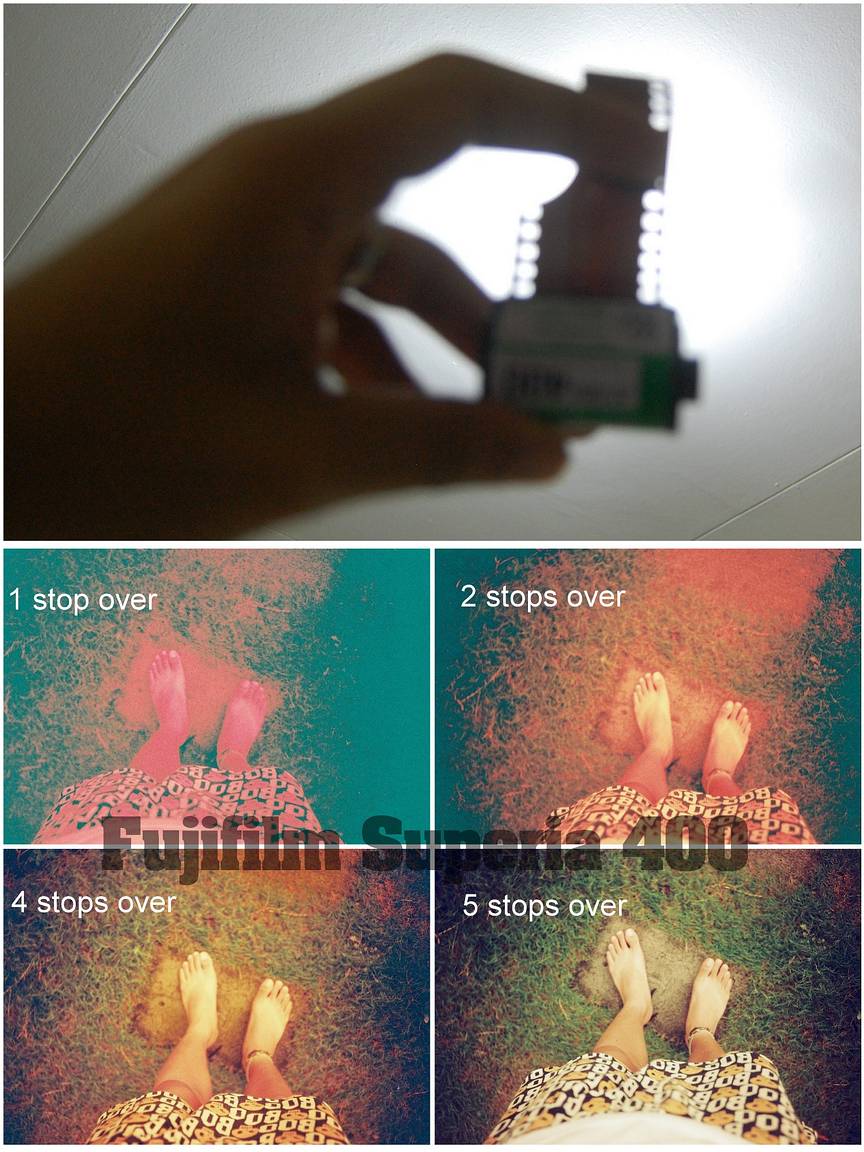
A simple test confirmed this: he held the film leader against a house light at night and saw the light bulb clearly through the thin/low ISO films. The high ISO films, however, barely showed the light bulb. Therefore, he deduced that films with high penetrability only need to be exposed one to three stops when redscaled, while films with limited penetrability need to be exposed by four to five stops.
Achieving Different Shades and Colors
So, what do you get when you expose various redscale films in different exposures? You get beautiful redscale snaps that can look intensely red, sepia-like with mellow yellow tones, or retro-looking with a tinge of green. Lomographer adam_g2000 has shown this nicely when he snapped the Lomography Redscale XR 50 - 200 in 50, 100, and 200 ISO:

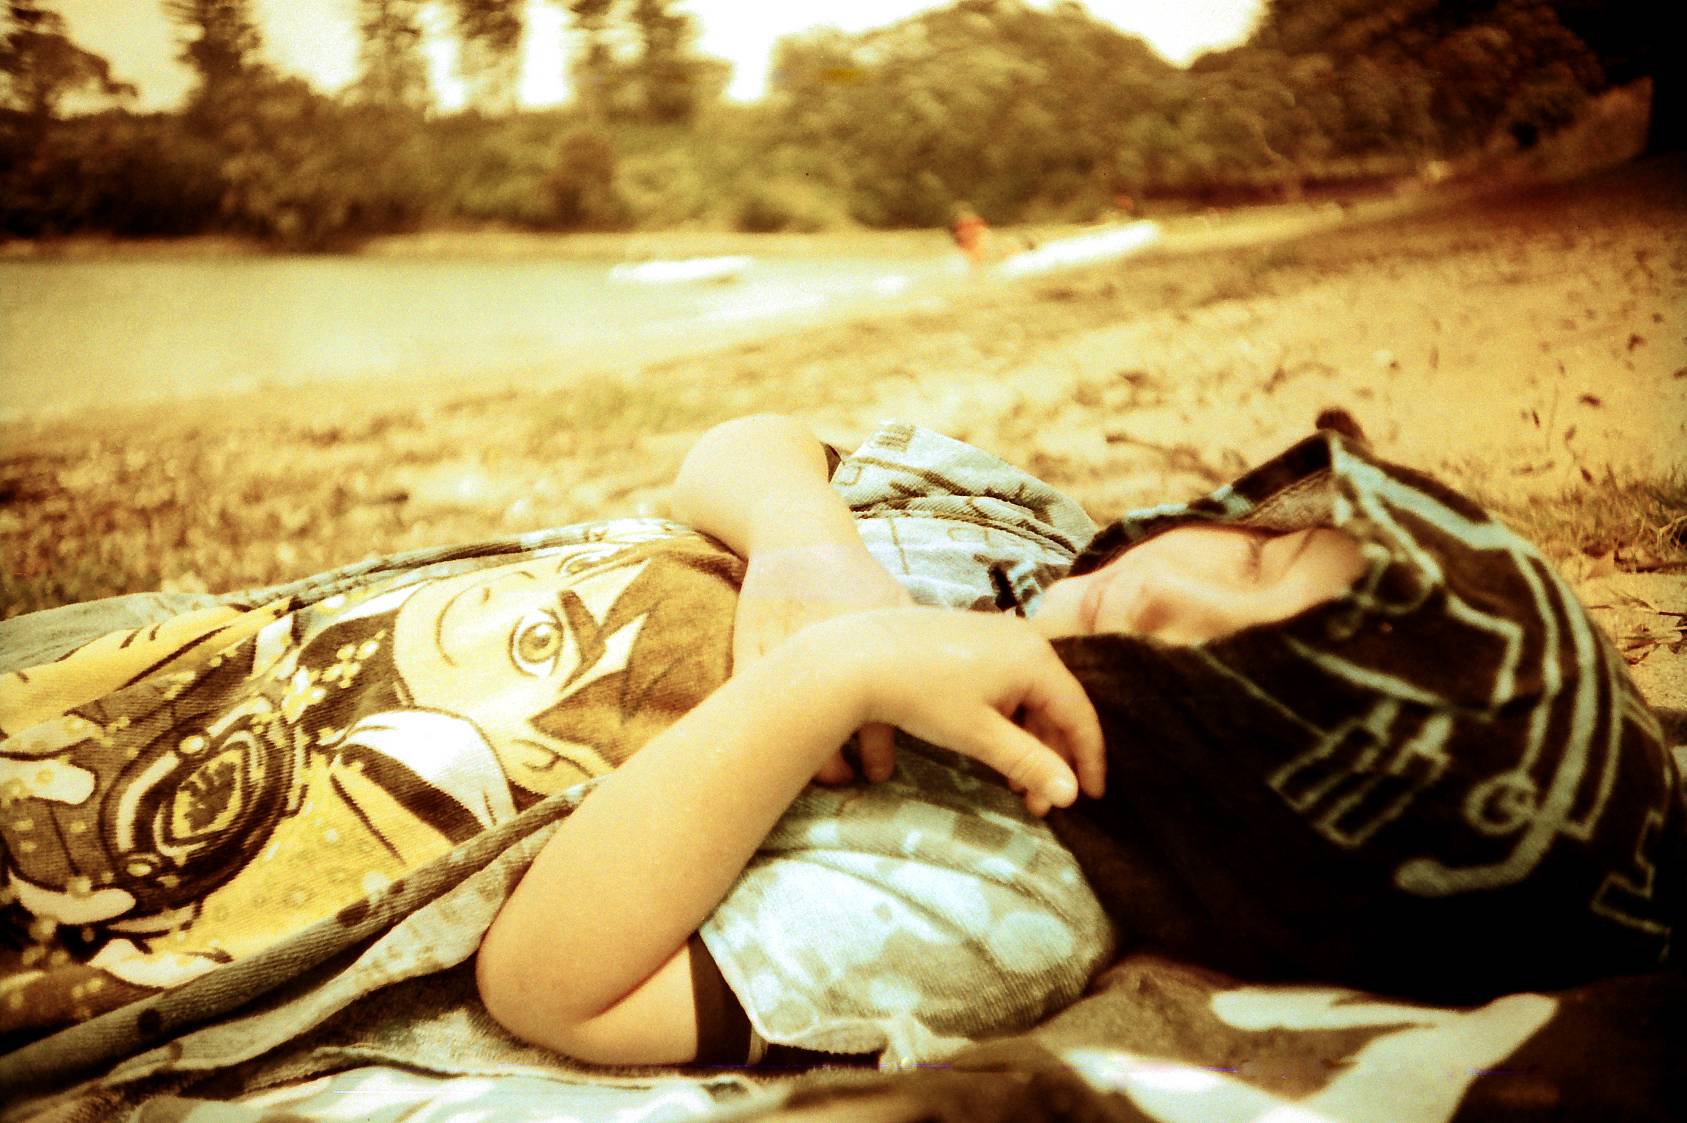


Keep in mind, however, that the light condition and lens aperture that you shoot with will also affect the hues and colors of your photos.
Doubles and Multiple Exposures with Redscale Film
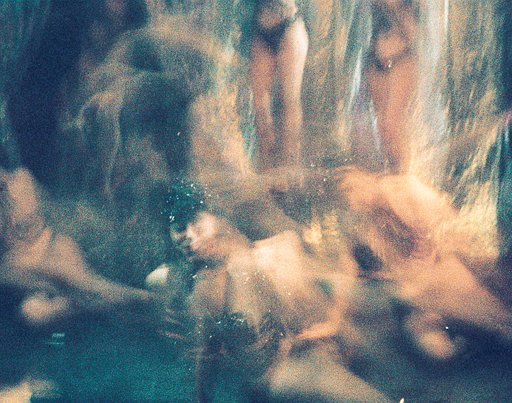
Because you can underexpose and overexpose redscale films with ease, they're among the best films you can use for doubles and multiple exposures. As usual, shoot the first frame one stop underexposed, then proceed with the second frame with your desired ISO. Also, don't forget to apply doubles/multiple exposure techniques like applying silhouettes, textures, and symmetrical doubles!
Lomographer extraordinaire hodachrome has mastered shooting doubles and multiple exposures with redscale films, as we can see in the gallery below:


If you'd rather have your redscale film ready-to-shoot, check out Lomography Redscale XR 50-200 in 35 mm and 120! Swing by our online shop or one of our worldwide gallery stores to replenish your film supply.
written by plasticpopsicle on 2013-10-08 in #gear #tutorials #redscale #tipster #lomography #techniques #redscale-film #lomography-guide-to-film


5 個留言